How to Start with Submify — Easy Form Endpoints for HTML Forms
A fast, no-server way to get form submissions emailed to you. This guide walks you through connecting your HTML form to Submify, confirming your address, and using handy fields like _replyto, _next, and _subject to customize behavior.
How to Start with Submify — Easy Form Endpoints for HTML Forms
A quick, no-server guide to connect your HTML forms to Submify so submissions go straight to your inbox — plus a few pro tips to customize email replies, redirects, subjects, and spam controls.
What is Submify?
Submify is a lightweight, no-code backend for HTML forms: point your form's action to a Submify endpoint and submissions are emailed to you. No PHP, Node, or server setup required — just HTML. It's perfect for landing pages, portfolios, contact forms and quick prototypes.
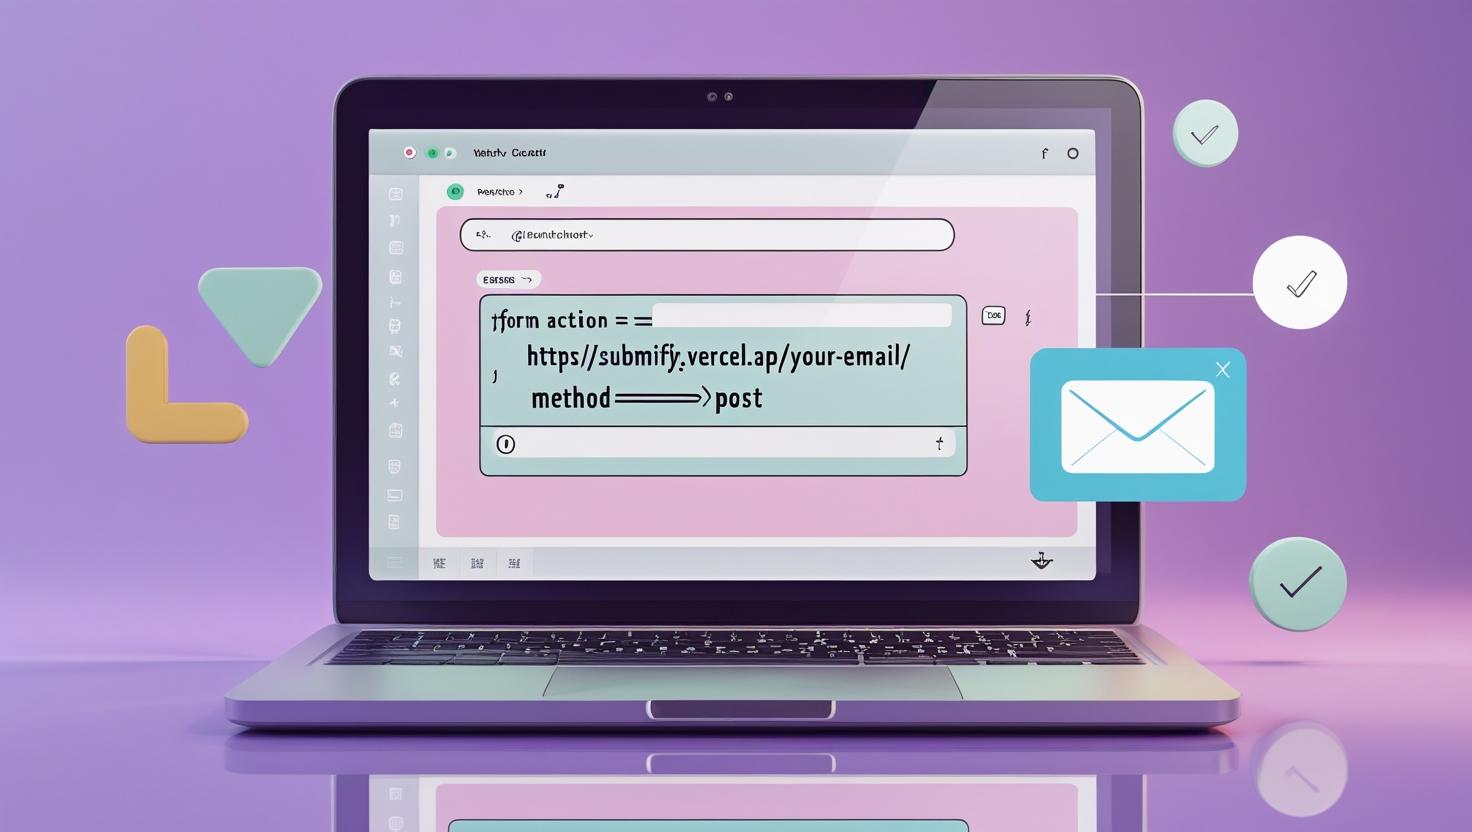
Step 1 — Create your HTML form
The simplest form is just an HTML form with the action set to your Submify endpoint. Replace your-email with the email address where you want to receive submissions.
<form action="https://submify.vercel.app/your-email" method="POST">
  <input type="text" name="name" placeholder="Full name" required>
  <input type="email" name="email" placeholder="Email" required>
  <textarea name="message" placeholder="Message"></textarea>
  <button type="submit">Send</button>
</form>
When you submit the form for the first time Submify will send a confirmation email to verify your address — submit once, follow the confirmation link, and subsequent submissions will be delivered to your inbox.
Step 2 — Useful hidden fields and enhancements
Submify supports special hidden fields (prefixed with an underscore) to customize email behavior and form flow. A few common ones:
_replyto— sets the Reply-To header so you can reply directly to the submitter's email._next— redirect users to a custom Thank You page after submit._subject— set the email subject for easier sorting._cc— CC additional addresses._captcha— disable built-in CAPTCHA for trusted environments._blacklist— block submissions containing comma-separated phrases.
Example: contact form that sets Reply-To and redirects
<form action="https://submify.vercel.app/your-email" method="POST">
  <input type="text" name="name" placeholder="Full name" required>
  <input type="email" name="email" placeholder="Email" required>
  <input type="email" name="_replyto" value="" placeholder="Reply-to (optional)">
  <input type="hidden" name="_subject" value="Support request from site">
  <input type="hidden" name="_next" value="https://yourdomain.com/thanks.html">
  <button type="submit">Send</button>
</form>
Confirmations & first-time flow
On the first submission Submify will email a confirmation to validate you own the destination address. After confirming, submissions will arrive normally. If you don't receive the confirmation check your spam folder and ensure the destination address is correct in the action URL.
Pro tips
- Use descriptive subjects — set
_subjectso you can filter and automate replies in your inbox. - CC teammates — use
_ccto keep stakeholders in the loop. - Limit blacklist phrases — keep your blacklist short for performance.
- Custom thank-you pages — provide a branded experience using
_next. - Test with your inbox — do one quick test submission and confirm the confirmation email before going live.
Troubleshooting
If submissions don’t arrive:
- Confirm the email in the
actionURL is correct. - Check your spam/junk folder for the confirmation email.
- Try a simple test form with only
nameandemail. - If you disabled
_captcha, re-enable it or add other spam filters.
Submify is ideal when you need a quick, serverless way to collect form submissions without building a backend. Point your form to the Submify endpoint, confirm the email, and use those handy underscore-prefixed fields to make your forms behave exactly how you want. Happy building! 🚀