How to Power Forms Without PHP and Javascript — Simple HTML Guide
Want to make your HTML forms work without writing PHP or Javascript? Learn how to handle form submissions easily with Submify. No backend, no code — just HTML and email delivery.
How to Power Forms Without PHP and Javascript — Simple HTML Guide
Do you want to collect form submissions on your website but don’t want to set up PHP or write complex Javascript? Good news — you don’t need either. In this guide, we’ll show you how to handle forms the easy way using a backend service like Submify. All you need is plain HTML, and your forms will be able to send submissions directly to your inbox.
Why avoid PHP and Javascript?
Traditionally, form handling requires either:
- PHP — running on a server to process form data and send emails.
- Javascript — making API calls with extra code on the frontend.
But not every project has a backend server. If you’re using a static site (like a portfolio, landing page, or simple HTML page), installing PHP or writing Javascript can be unnecessary overhead.
The serverless way — Submify
Submify provides instant form endpoints. Just set your form’s action attribute to Submify and submissions go directly to your email — no PHP, no JS, no backend setup.
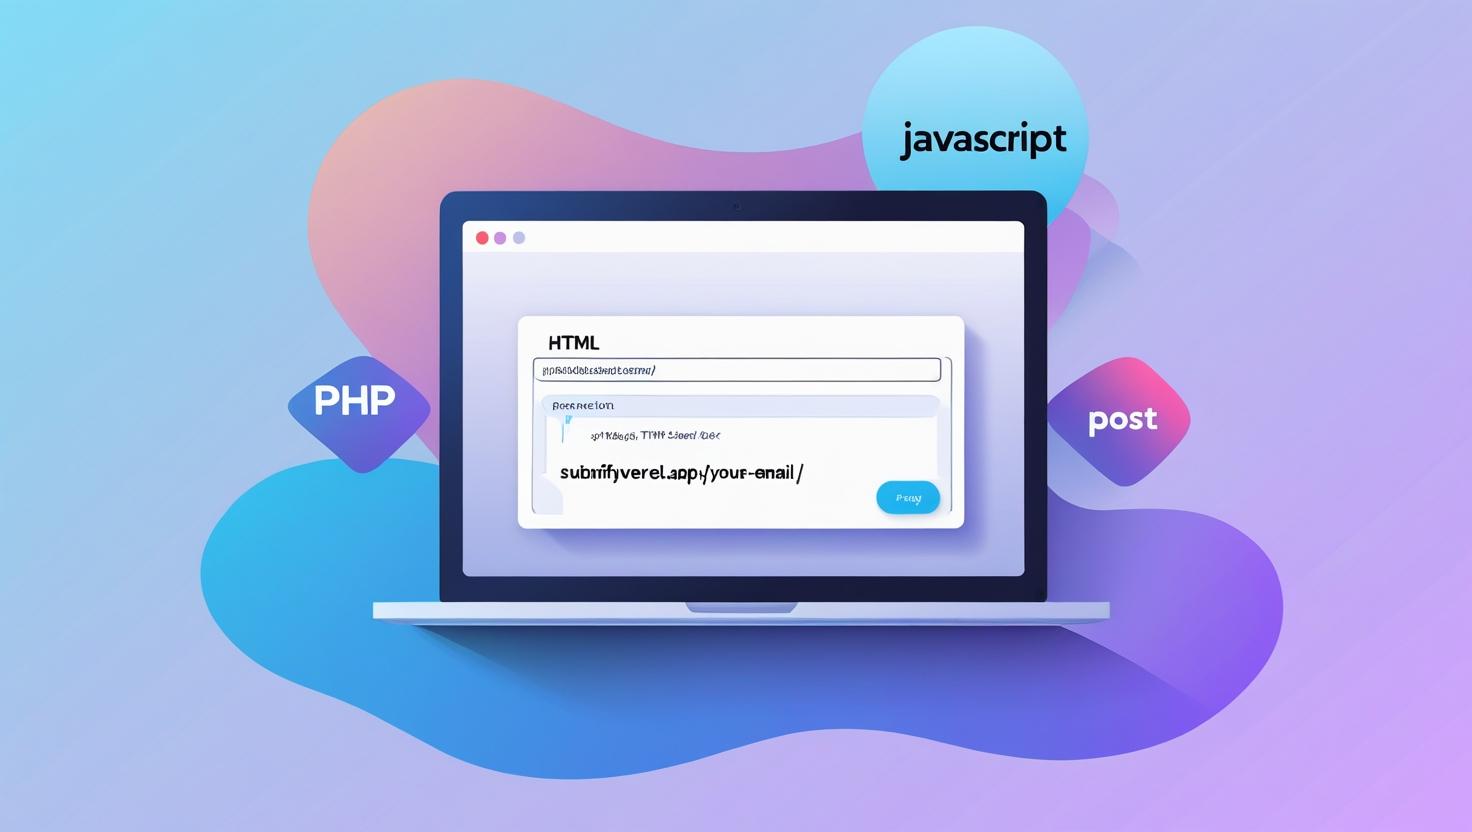
Step 1 — Create a simple HTML form
Here’s the most basic Submify-powered form. Replace your-email with the address where you want to receive form submissions.
<form action="https://submify.vercel.app/your-email" method="POST">
  <input type="text" name="name" placeholder="Your Name" required>
  <input type="email" name="email" placeholder="Your Email" required>
  <textarea name="message" placeholder="Your Message"></textarea>
  <button type="submit">Send</button>
</form>
That’s it! No PHP files, no Javascript, no backend configuration. Just pure HTML.
Step 2 — Verify your email
On your first submission, Submify will send a confirmation email. Click the link in that email to confirm you own the destination address. After that, every submission will go straight to your inbox.
Step 3 — Customize with hidden fields
You can extend your form with hidden fields to add more control:
_replyto— sets the reply-to address so you can answer directly._subject— customizes the subject line of your notification email._next— redirects users to a thank-you page after submitting._cc— copies submissions to additional addresses.
Example with subject and redirect
<form action="https://submify.vercel.app/your-email" method="POST">
  <input type="text" name="name" placeholder="Your Name" required>
  <input type="email" name="email" placeholder="Your Email" required>
  <textarea name="message" placeholder="Your Message"></textarea>

  <input type="hidden" name="_subject" value="New Contact Form Submission">
  <input type="hidden" name="_next" value="https://yourdomain.com/thank-you.html">

  <button type="submit">Send</button>
</form>
Benefits of this approach
- Zero backend setup — no servers, no hosting configuration.
- No Javascript required — works even if users disable scripts.
- Secure — email confirmation prevents abuse.
- Easy to maintain — update your HTML once and you’re done.
Troubleshooting
- Didn’t get submissions? Check your spam folder for the confirmation email.
- Double-check your form’s
actionURL for typos. - Try a very simple test form first before adding custom fields.
Conclusion: You don’t need PHP or Javascript to power forms. With Submify, you can set up a working form in minutes using just HTML. It’s the fastest way to make your website interactive — without writing a single line of backend code.